Plein air painting is the art of painting out of doors. This is Part I of a five part article on plein air painting. It provides a brief history of plein air painting, and discusses its unique purpose and goals.
The term "plein air" is taken from the French expression "en plein air", which means "in the open air". Plein air painting became popular in the 1870s, when advancements in the field of art allowed artists to put their paint in transportable tubes and take them into the field. Plein air painting was embraced by many painters, most notably the French Impressionists, and has remained a very popular painting method up to today.
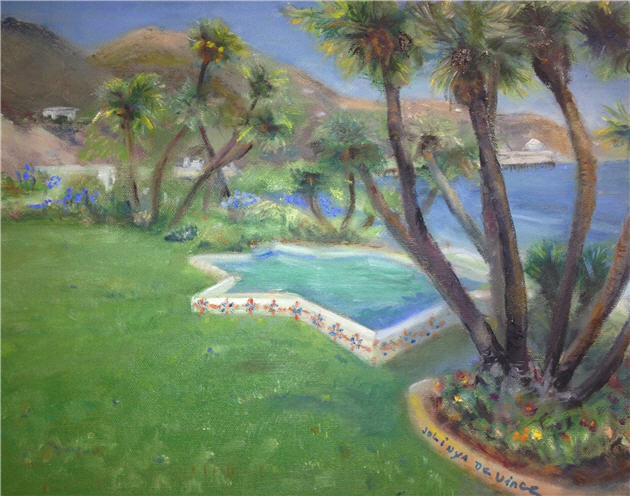
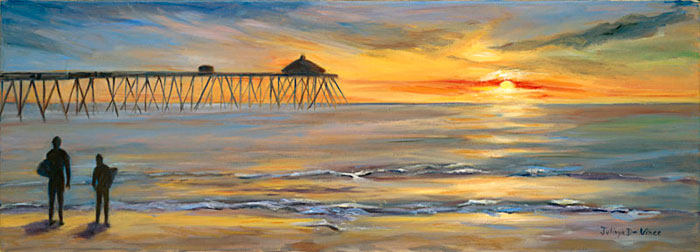
Plein air painting has always been associated with a certain artistic goal or quality. This is to recreate the essence of a moment out of doors. Not only is the subject matter important; the artist strives to capture the entire atmosphere - the sounds, the smells, the sunshine or rain, wind or snow - all the aspects of that particular out of doors experience. Because light is such an important part of the out of doors experience, plein air painters place great importance on the influence of light on color. They work to capture the way that light appears on subjects at different times of day and with different types of weather, and use colors suggesting the light and atmosphere of that day.
Plein air painters must make special preparations prior to painting outdoors. These help capture the essence described above, and are necessary for the practicalities of painting en plein air. In Part II, we discuss the kinds of preparations necessary for painting en plein air.
Julinya Vidigal de Vince offers a variety of art workshops in Westlake Village California.
The term "plein air" is taken from the French expression "en plein air", which means "in the open air". Plein air painting became popular in the 1870s, when advancements in the field of art allowed artists to put their paint in transportable tubes and take them into the field. Plein air painting was embraced by many painters, most notably the French Impressionists, and has remained a very popular painting method up to today.

|
| Plein Air Painting - Vineyards in Napa Valley, CA |
Plein air painting has always been associated with a certain artistic goal or quality. This is to recreate the essence of a moment out of doors. Not only is the subject matter important; the artist strives to capture the entire atmosphere - the sounds, the smells, the sunshine or rain, wind or snow - all the aspects of that particular out of doors experience. Because light is such an important part of the out of doors experience, plein air painters place great importance on the influence of light on color. They work to capture the way that light appears on subjects at different times of day and with different types of weather, and use colors suggesting the light and atmosphere of that day.
Plein air painters must make special preparations prior to painting outdoors. These help capture the essence described above, and are necessary for the practicalities of painting en plein air. In Part II, we discuss the kinds of preparations necessary for painting en plein air.
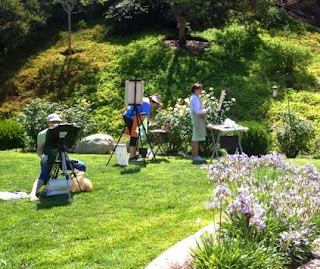
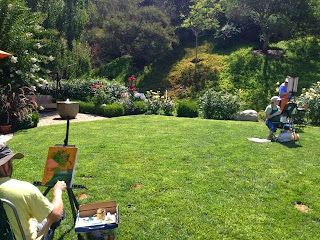
Julinya Vidigal de Vince offers a variety of art workshops in Westlake Village California.
 |
| Julinya's Art Classes - Westlake Village, CA |